


Resources > How-to Guides
How to Cut and Extend Philips Hue Lightstrips without Soldering
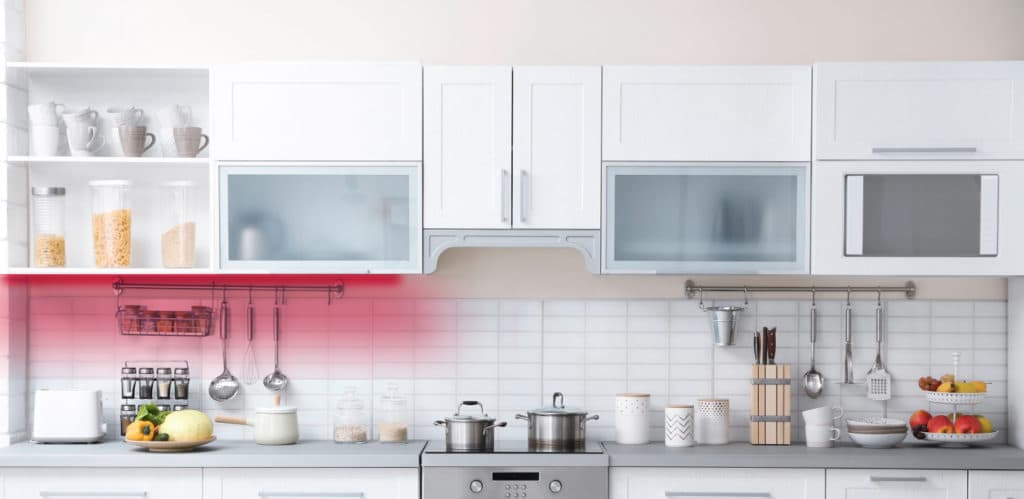
So you bought yourself a shiny new Philips Hue Lightstrip Plus Starter Set and you’re ready to get your under cabinet lights setup and create the perfect kitchen ambience. Things are going great until you get to your hood range and you have to cut your Philips Hue Lightstrip. Well, at least you have one side of your cabinets lit up, right?
How can you reconnect the remaining portion of your cut lightstrip?
You could solder six individual wires to your lightstrips, if you have the equipment, skill and patience. Or you could use our solution: the solderless 6-Pin to Cut-End Connector.
Our 6-pin to Cut-End Connector allows you to add a 6-pin connection to a cut Philips Hue Lightstrip. Instead of having a cut at the end of your lightstrip, you now have a 6-pin end to work with. From here, you can plug in any Litcessory product with a 6-pin connector, such as an Extension Cable, or a Philips Hue Extension Lightstrip. No more wasting costly lightstrip pieces.
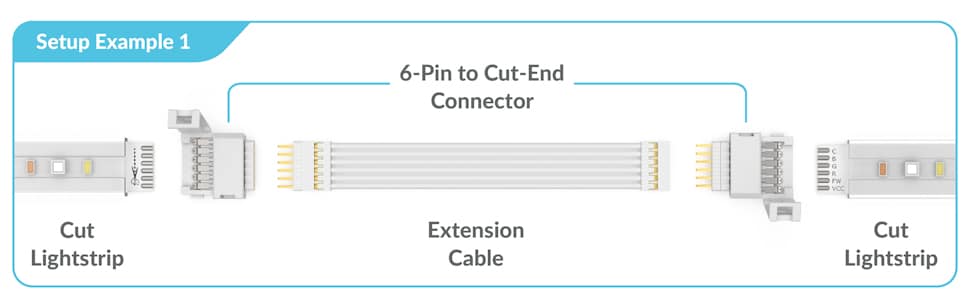
There are so many different possible applications of the 6-Pin to Cut-End Connector. In the example we used above, we need to bypass a hood range and connect our two cut lightstrip segments together. In order to get around the hood range and use our cut lightstrips, we will need to connect an Extension Cable between two 6-Pin to Cut-End Connectors. When finished, this setup will look like the example image below.
How to connect two cut lightstrips together with a Litcessory Extension Cable
To connect two cut lightstrips together with a Litcessory Extension Cable, you will need to do the following:
1. Connect a 6-Pin to Cut-End Connector to the first cut lightstrip.
On your Philips Hue Lightstrip you will find a scissors mark which is next to the six silver soldered connection points. Do not cut where the scissors mark is or you will not be able to reconnect your lightstrips!

Remove the clear plastic around the lightstrip by carefully using a sharp razor blade.

Next, cut down the middle of the silver solder points.

Use the included tool to gently lift the metal prongs in the cut-end connector just enough so that you can easily slide the tool underneath the prongs.

Insert the lightstrip into the cut-end connector and tightly close the lid. A pair of pliers is helpful to assist with closing the lid fully. You can also tightly wrap the cut-end connector with electrical tape as well to help maintain a tight connection as well.

2. Plug the male end of the extension cable into the 6-Pin to Cut-End Connector.
3. Connect a second 6-Pin to Cut-End Connector to the other cut lightstrip, and plug into the extension cable.
You now have connected two cut lightstrips! In this example we had one 80 inch Starter Philips Hue Lightstrip, which we cut in half, and reconnected with an extension cable and two 6-Pin to Cut-End Connectors

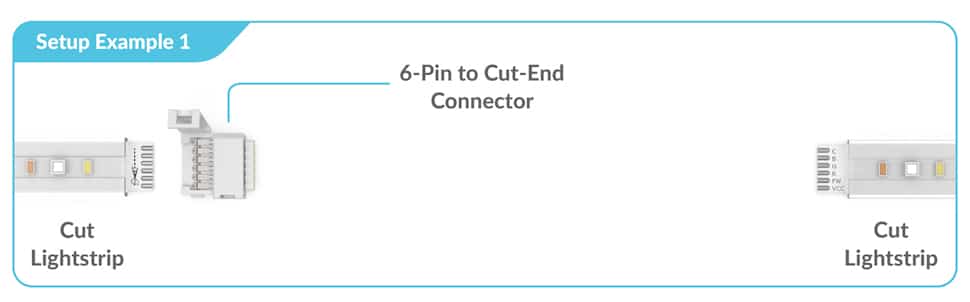
This is just one way in which we could have completed this. We actually could connect these two cut lightstrip portions using only one 6-pin to Cut-End Connector by utilizing the female end of the starter lightstrip.
This method seems a bit tricky, but it’s actually quite simple, and if you have a more complicated project with multiple cuts, this can help you save some of those 6-Pin to Cut-End Connectors for use elsewhere.
To connect to the female end of the lightstrip, you will need to have one twist in your extension cable.
reconnect a cut Philips Hue starter light strip
If you didn’t have the twist in the extension cable, you would end up with Reversed Polarity, and the second lightstrip portion wouldn’t light up at all.
Have more questions about your custom Philips Hue Lightstrip project?
Click the "Have A Question" button! We are always happy to help you figure out exactly what you need to complete your setup.
Have additional questions? Check out our FAQ.
Learn more and follow along with our videos. Click here to visit our video library.
-
Extend the Distance Between the Philips Hue Controller and the Starter Lightstrip
-
Litcessory Extension Cable for Philips Hue Lightstrip Plus
-
How to Split the Philips Hue Lightstrip Plus
-
How to Cut and Extend Philips Hue Lightstrips without Soldering
-
Philips Hue Lightstrip Hardwired Controller vs Detachable Controller: Which Version do I have?